
I have been a huge fan of the Mint Tin games by subQuark Games since I stumbled upon the very first two on Kickstarter: Mint Tin Pirates and Mint Tin Aliens. I was intrigued by their tiny, portable size and that they are designed and completely sourced/manufactured in the U.S. by one family, David and Kate Miller. While the kickstarter campaign was in progress, David and I exchanged some emails about the game, which resulted in me helping with proofreading the rules. That chance meeting on Kickstarter has grown into a friendship, and I hope someday we get to meet face-to-face. For now, we talk periodically online about his next game and how our families are doing.
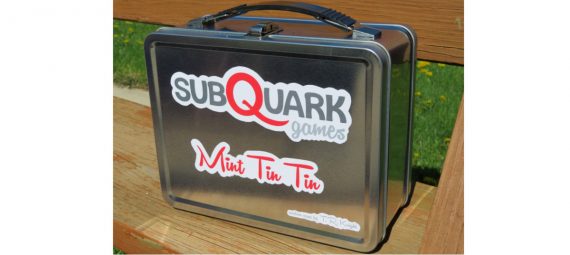
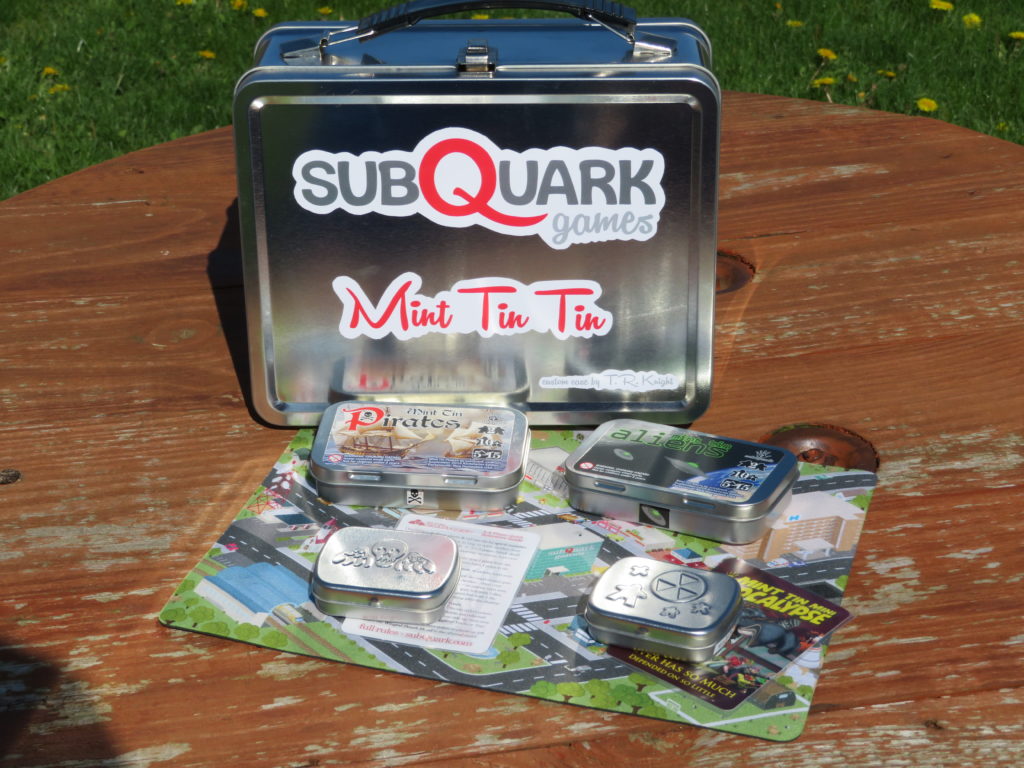
Over the years, I have supported each game subQuark has Kickstarted, which means I have quite a few tins of games now. When my newest game arrived, Mint Tin Skulduggery, I was mulling over what to do with all these tiny shiny tins of amazing gaming. Currently they all are in a gaming drawer, and I pull them out when I want to travel with one or more of them. Before I put Skulduggery away, an idea began percolating in my mind. What if I designed a case to store all my Mint Tin games in one place? I emailed David with my idea, and he was intrigued as well. We both agreed, for it to fit with the Mint Tin games idea, it would have to be a shiny metal box of some type. That is when I found these wonderful shiny metal lunch boxes, and the project took off. I ordered the box and started drawing up insert concepts. Should I use pluck foam, foam core, some other material? How many games could I fit? Could I have expansion room? How do I fit the mouse pad for Mint Tin Apocalypse?
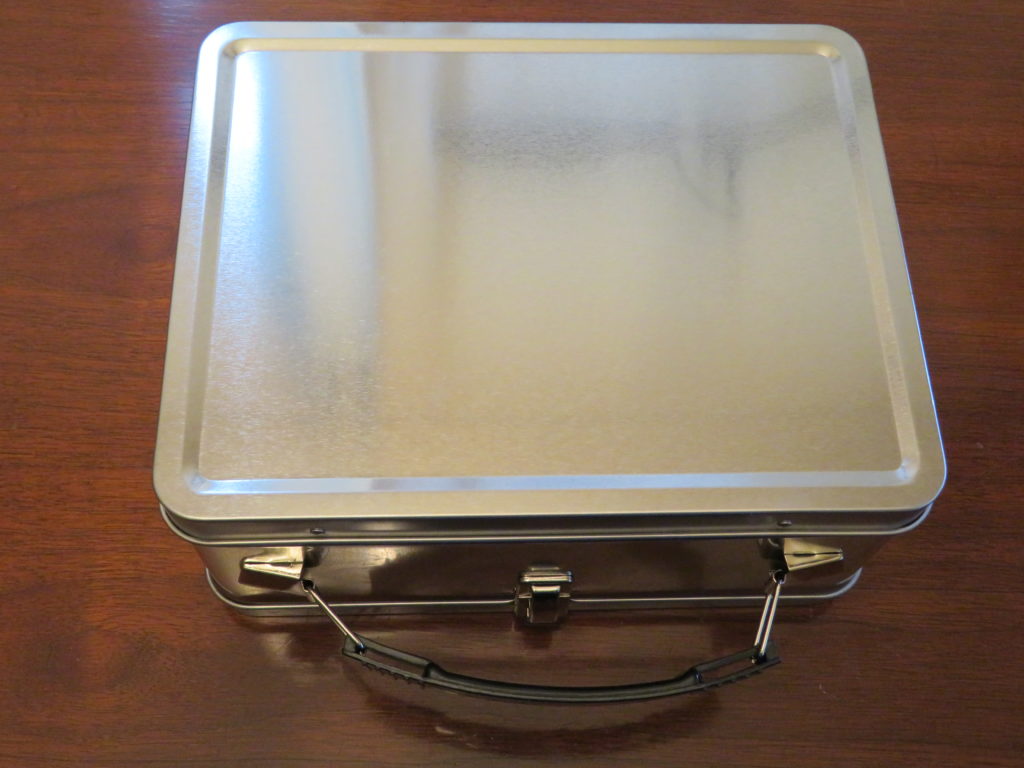
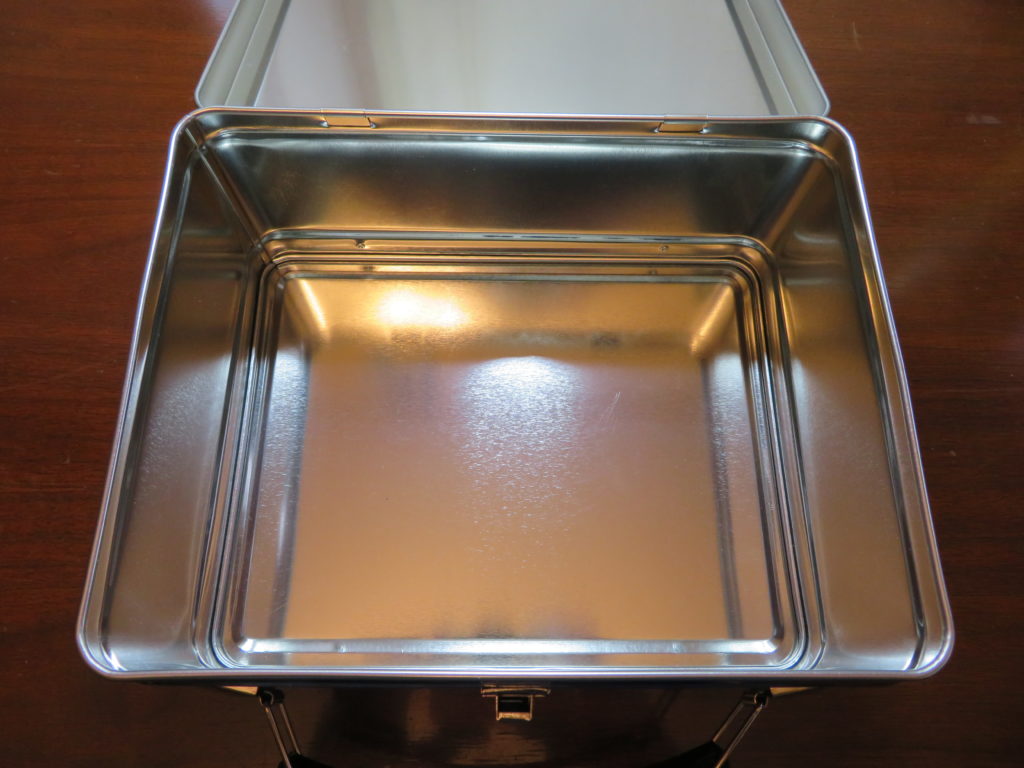
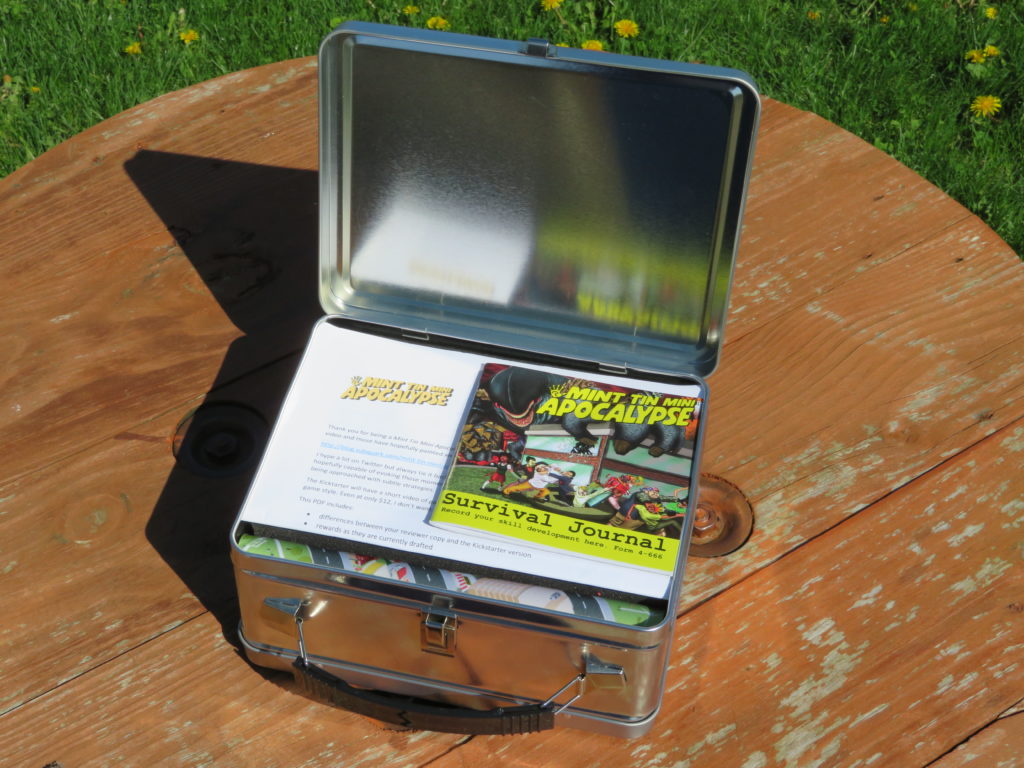
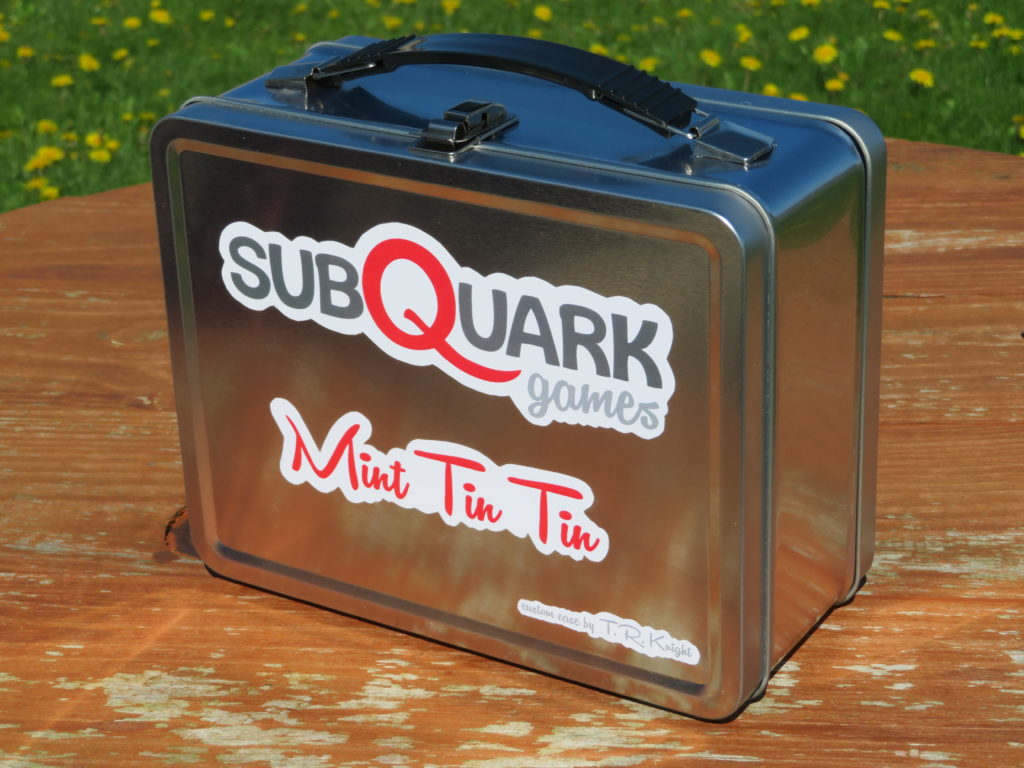
Once the metal lunch box arrived, I was amazing at how quickly the project came together. The Mint Tin Apocalypse mouse pad rolled up fit perfectly in the case, confirming this box was the right size. From there I had to determine how best to cut and resize the pluck foam pad I ordered, as it was not an exact fit. Because he loved the idea so much, David was very generous and assisted with graphics for the case. My childhood snuck into the project as well when the name Mint Tin Tin came to mind and stuck instantly. I grew up watching reruns of The Adventures of Rin Tin Tin, so this merge of Mint Tin games and Rin Tin Tin had to happen, in my mind.
Want to make your own Mint Tin Tin? I will list the supplies I used and some photos here of the process I used to craft the Mint Tin Tin game.
- Metal Lunch Box
- Game Plus Foam Pluck Tray
- Vinyl Stick Paper
- subQuark Games Mint Tin Tin graphic
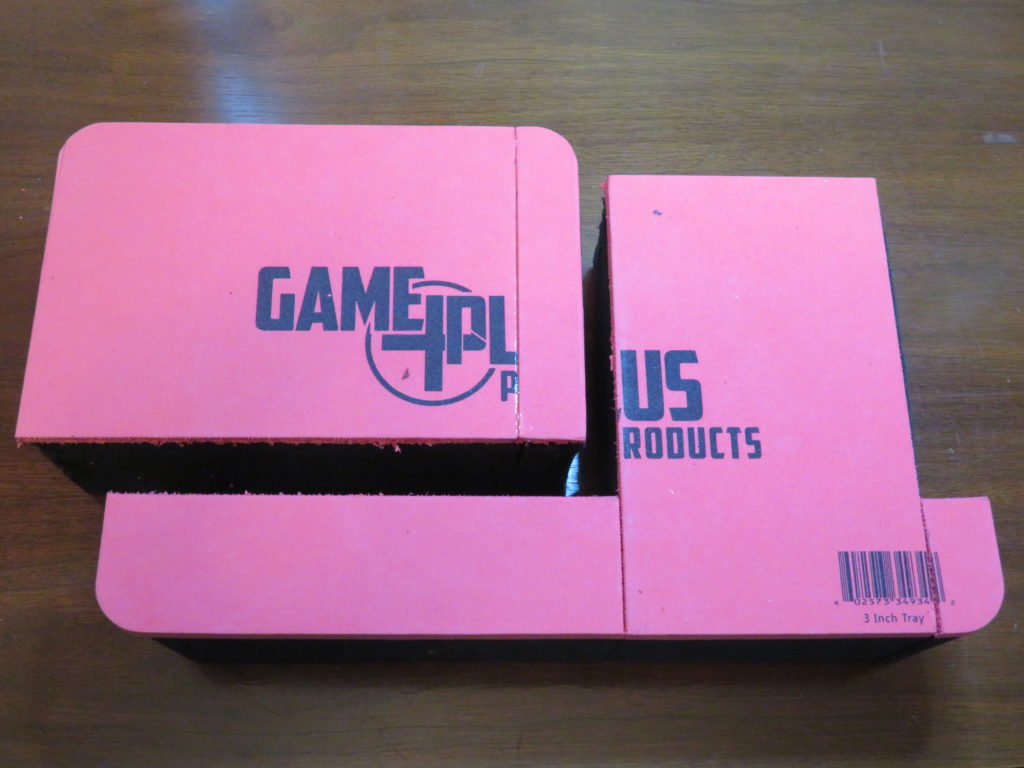
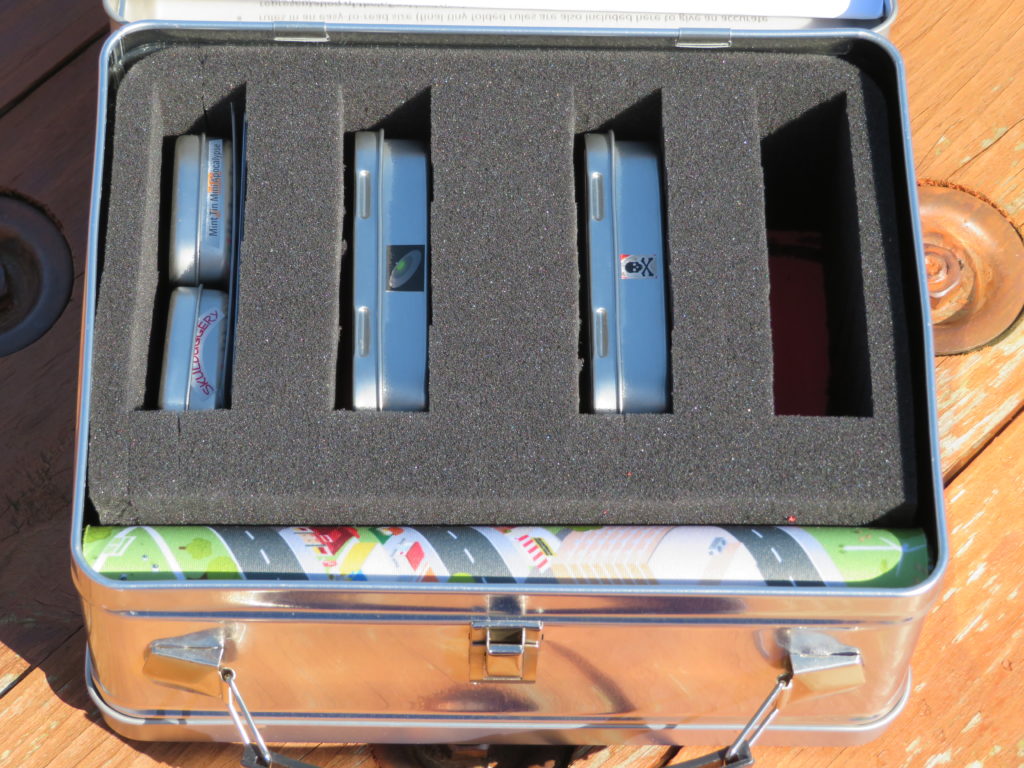
I learn something new with each project that I will take into the next one. I am finding you don’t have to do as much customization as you think. You can find purchasable items (like the metal lunch box) that can work really well and not require as much crafting like I have done with other projects. What I would like to do to enhance this project, and others I have done with pluck foam, is learn to cut my own foam rather than using pluck foam. The pluck foam makes this very easy to do and made this a quick project, but limits the open slots to the size of the precut squares and the stability between them. Solid foam I cut myself would be more rigid and more customizable.
Do you customize or enhance your tabletop games? Any pointers on how I could have done this project better?
What game-related side projects have you done?